
My Son received a bottle of Magpul OD Green Duracoat gun paint for Christmas. We have been waiting for the weather to warm up so we could paint his gun. Last weekend the weather was right and I had some time to take on this project.
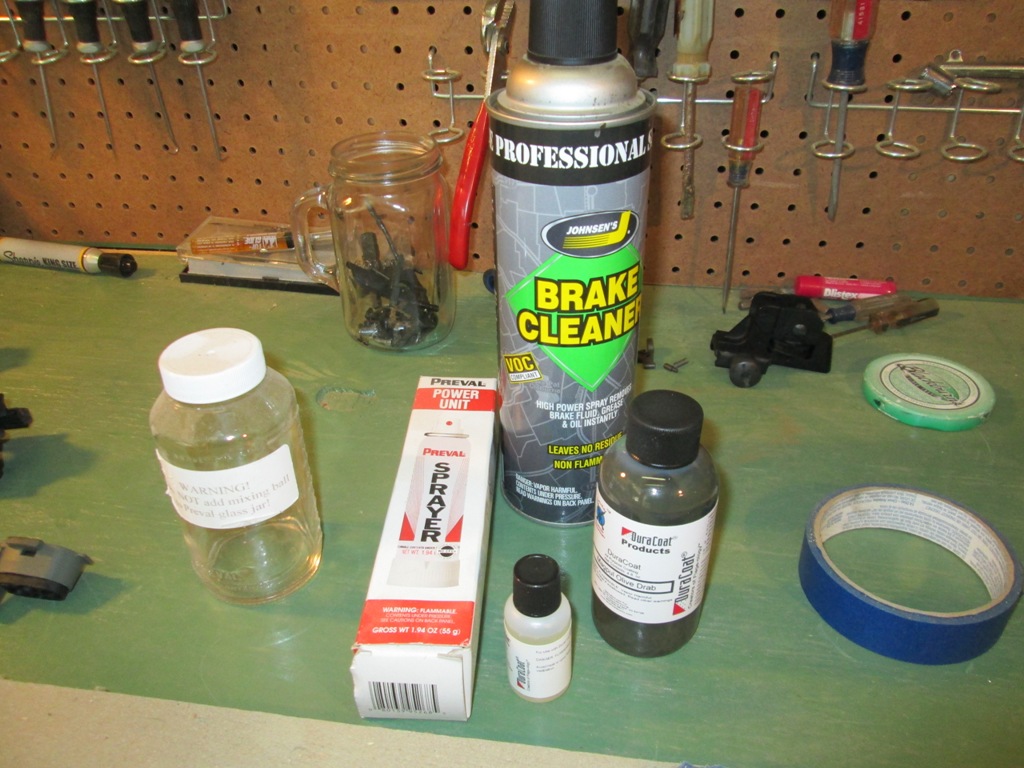
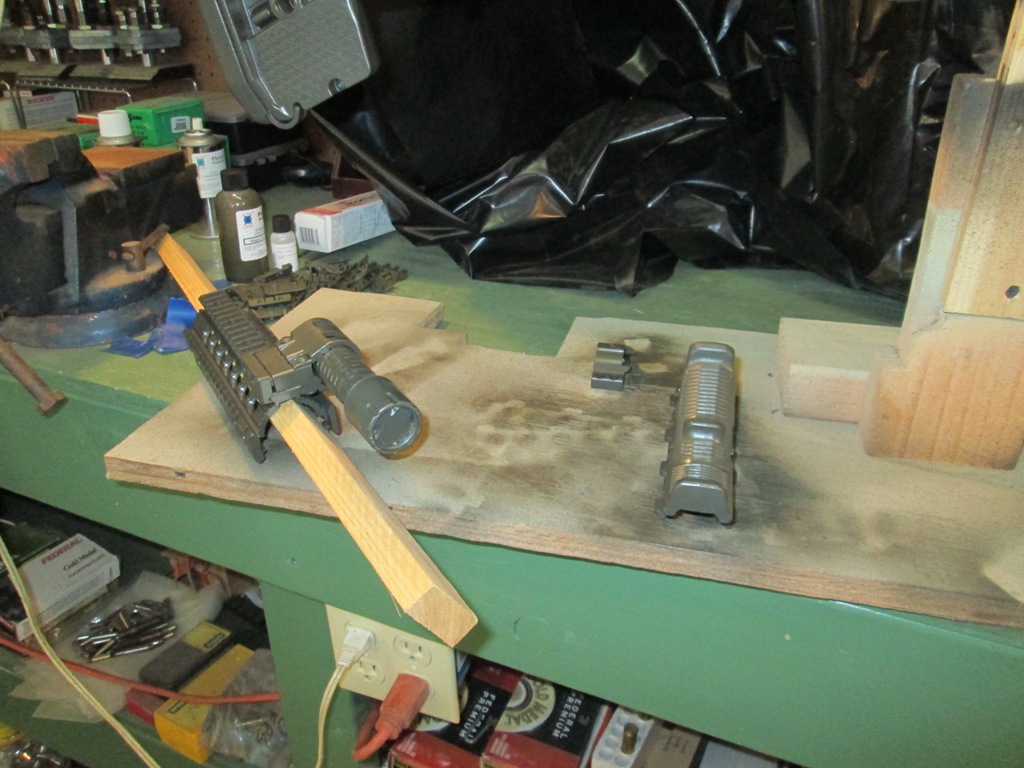
Once I rounded up everything we needed to paint the rifle it was time to get started. I did a total break down of the rifle. I removed the fire control and most of the other moving parts. I did not remove the pivot pin and take down pins or the buffer tube.

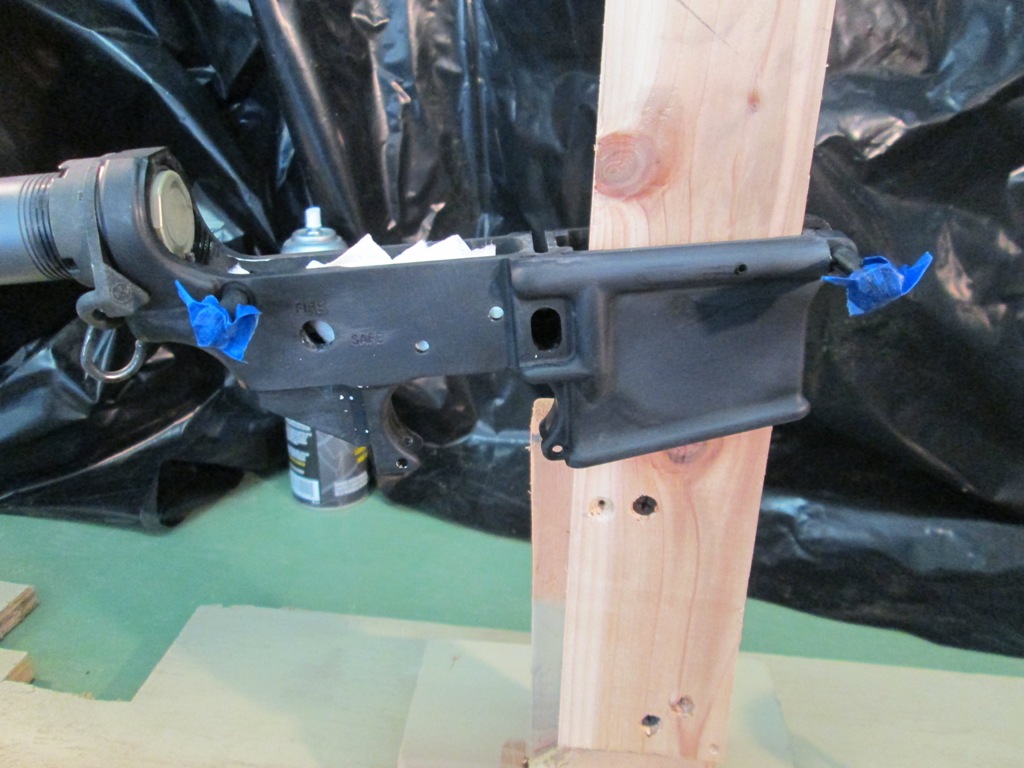

After I had all the parts removed that were not going to get painted, it was time to tape up the remaining parts that I did not want paint on. The next step was to rough up the metal so the paint would stick. We used brake parts cleaner to degrease the weapon and other parts, then we used the provided pad to rough up the metal.
Once the metal and plastic surfaces that were to be painted were roughed up, I stuffed receivers with paper towels to keep the Duracoat out of the inside of the weapon. Once that was done it was time to paint the rifle.

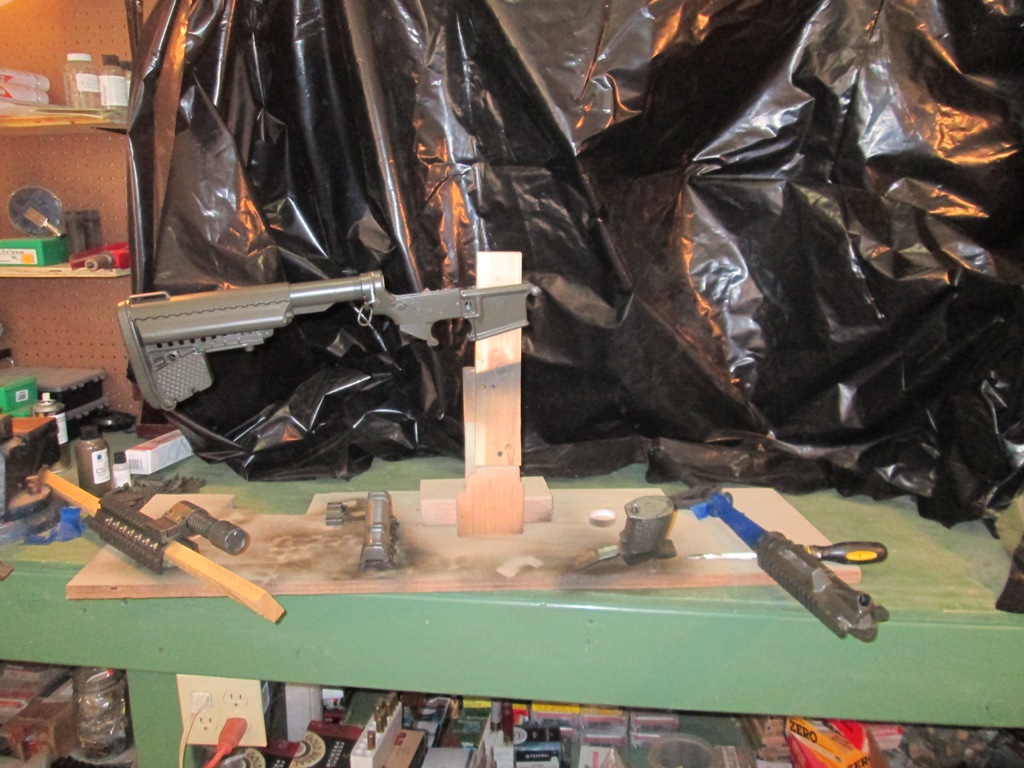
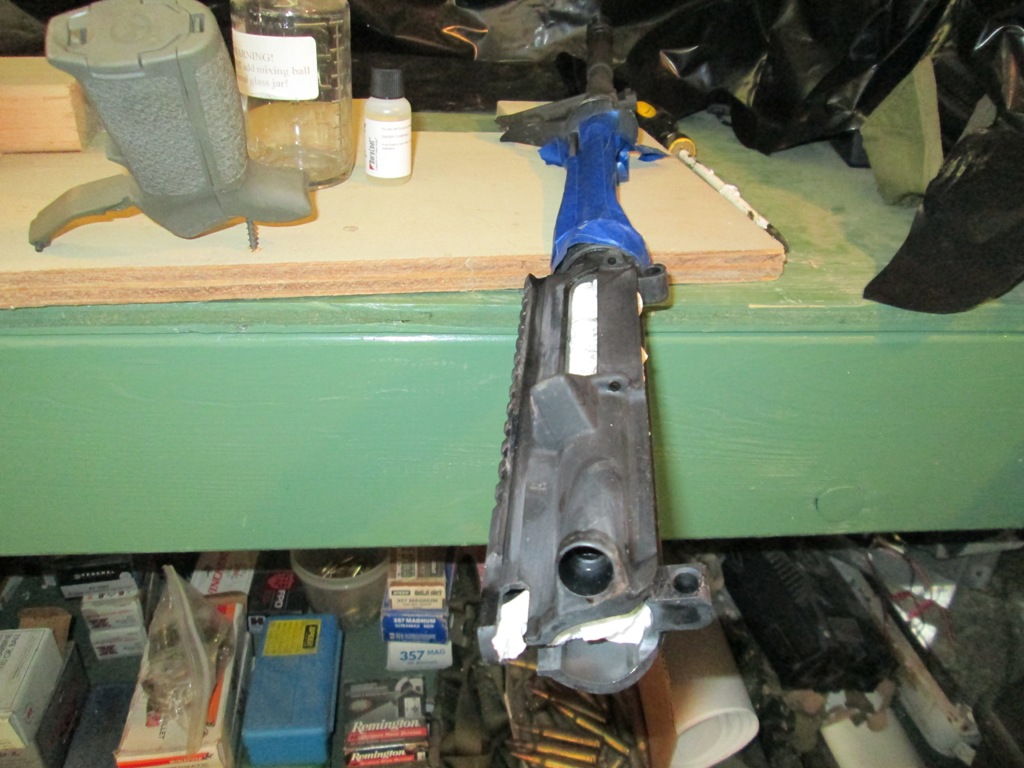
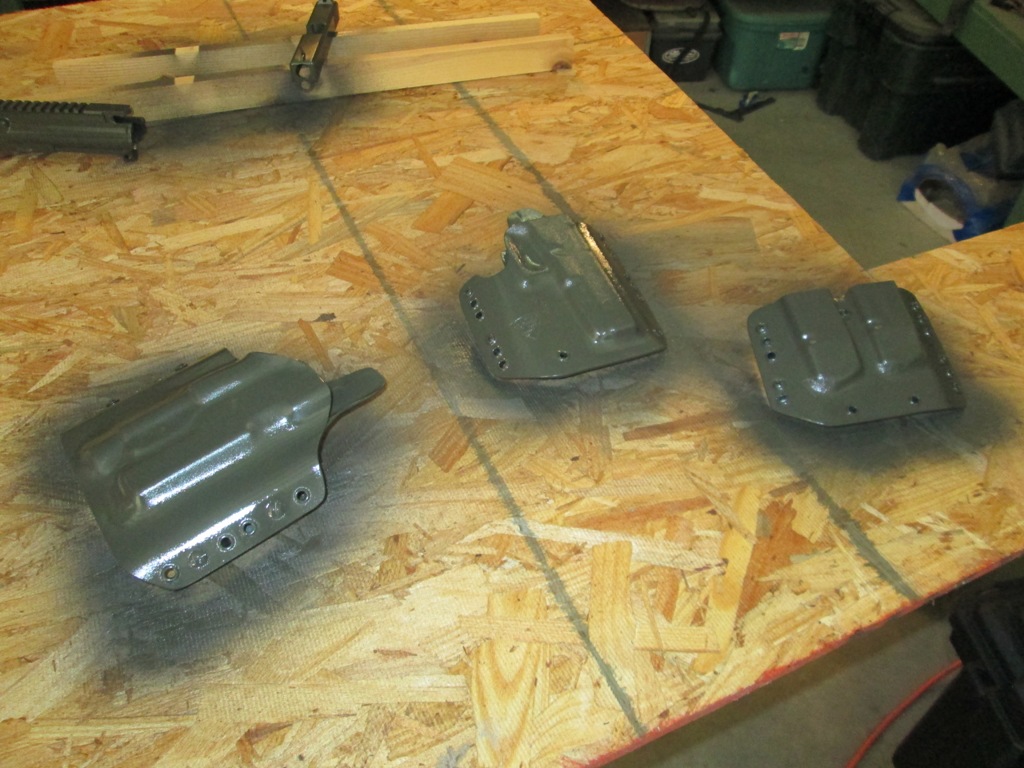
Once all of the rifle parts were painted I realized that we still had quite a bit of Duracoat left. After the paint is mixed you have to use it or throw it away. We scrambled around and found several items to paint to use up the rest of the paint. We painted a G21 and a G19 slide and several kydex holsters and magazine pouches as well as the upper receiver for my SBR.
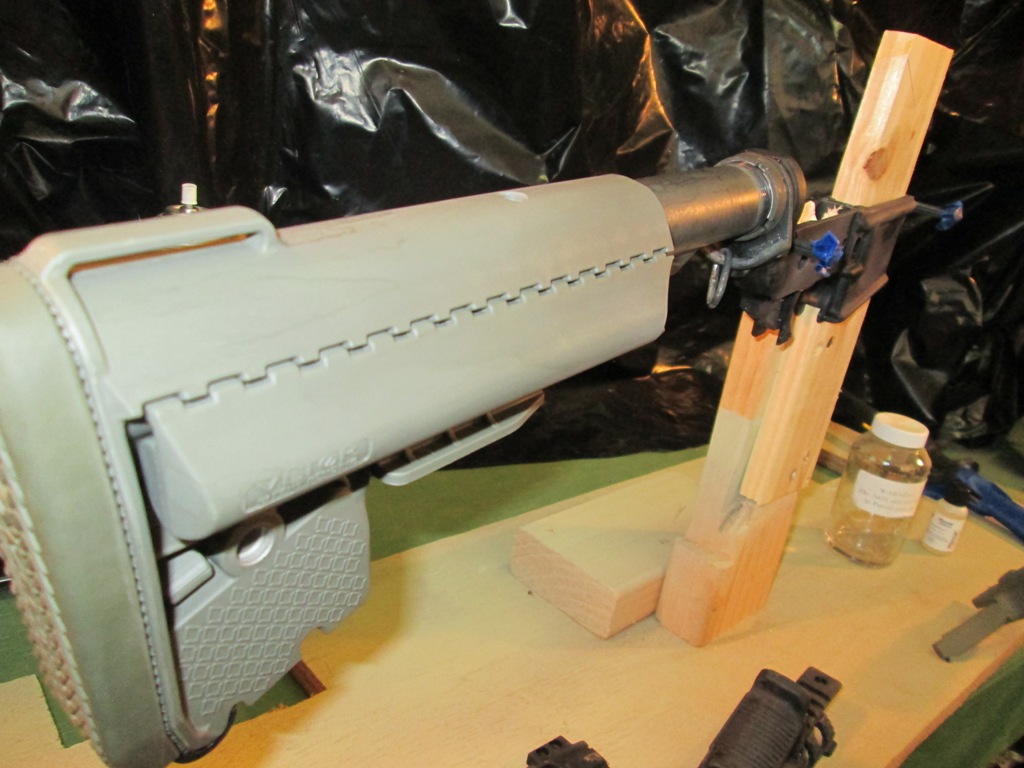
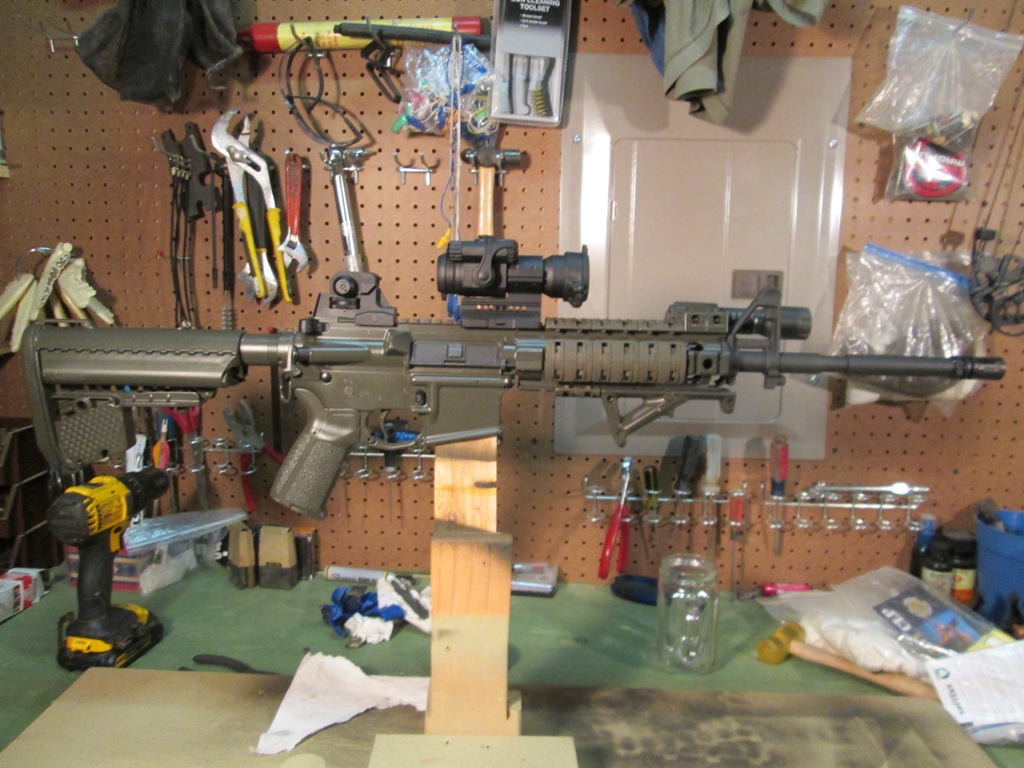
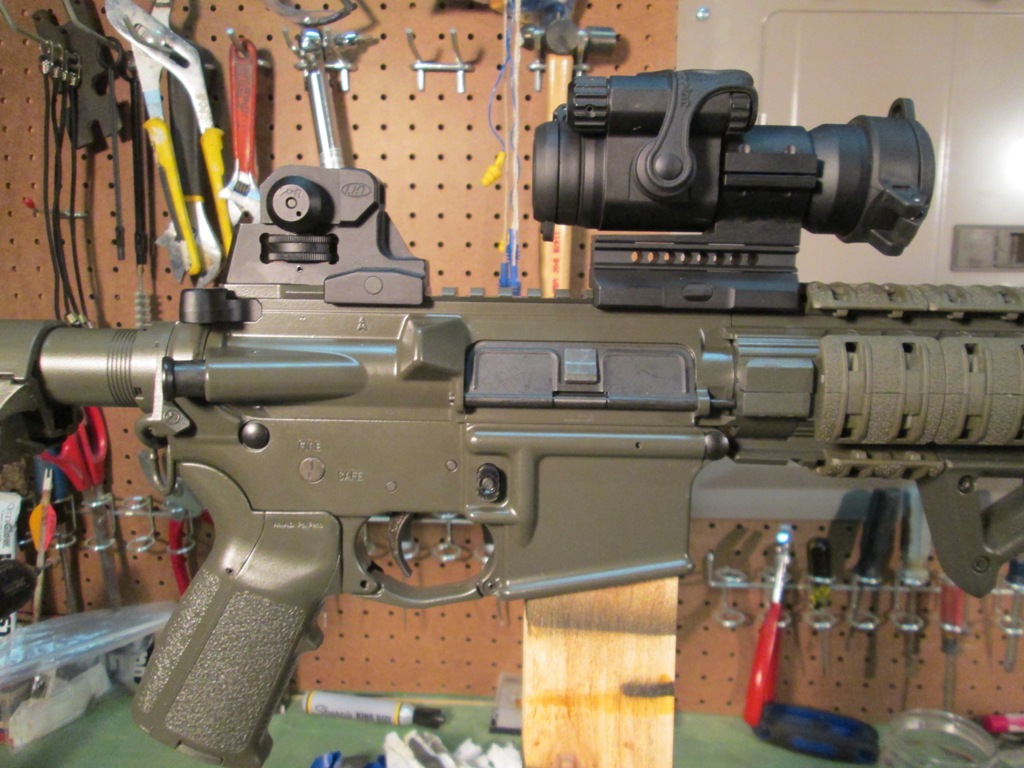
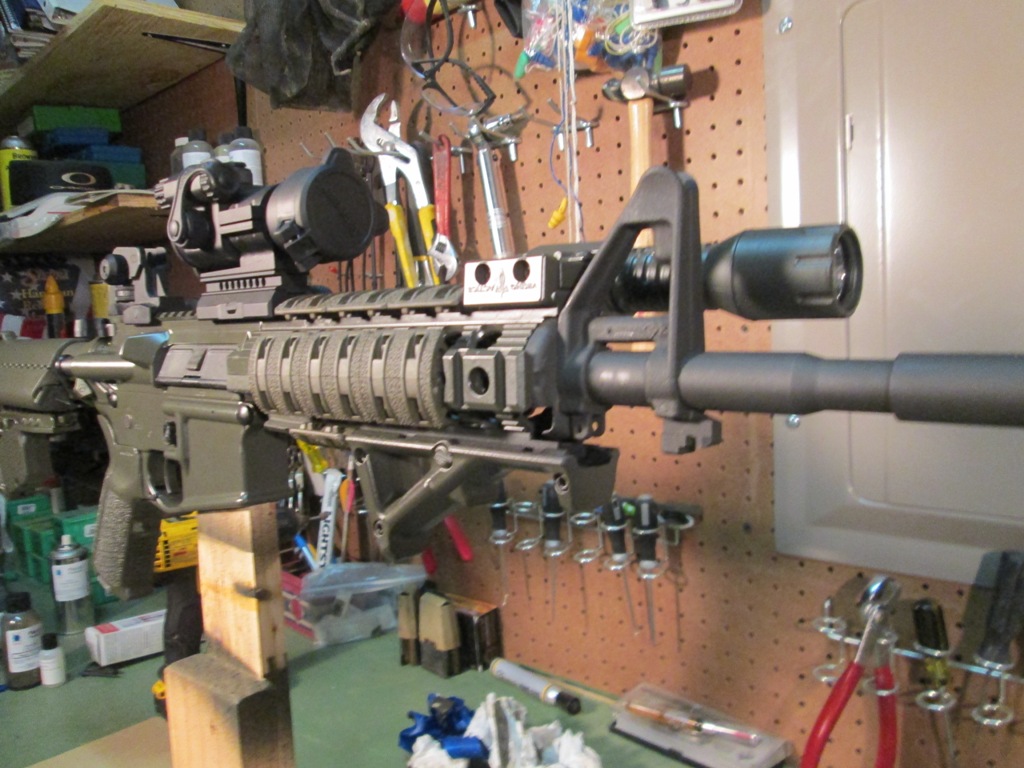
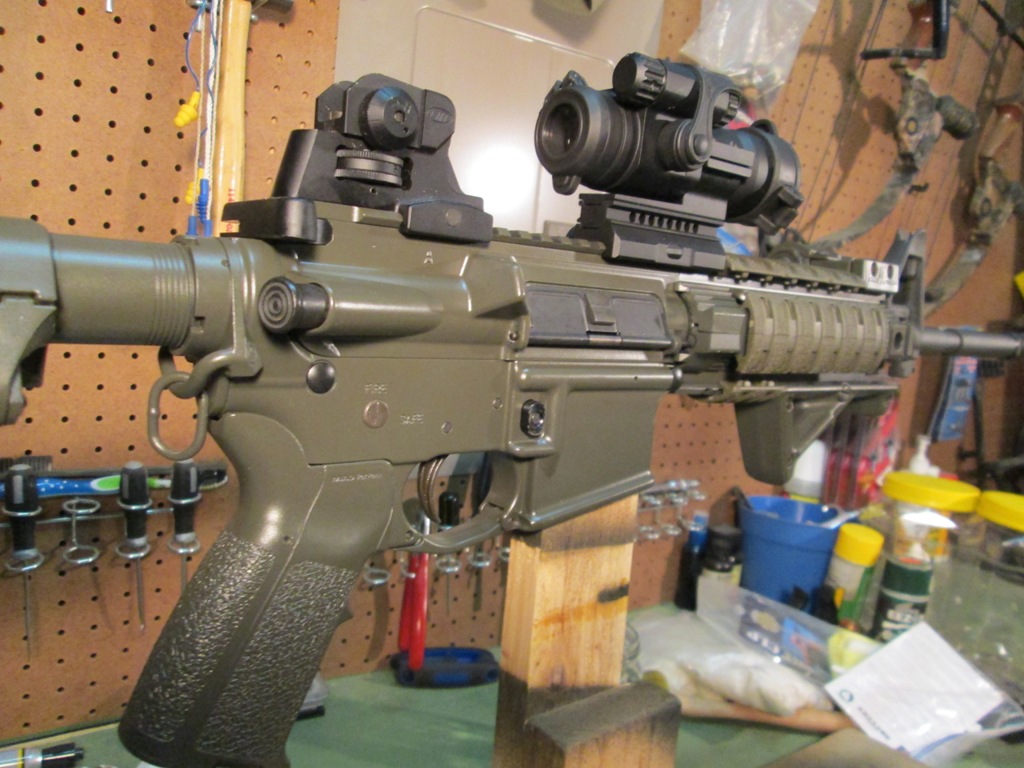
I was very pleased with how everything turned out. This is my second Duracoat paint job. So for this has been a very durable weapon coating. Here is how the rifle turned out.


You must be logged in to post a comment.